Pages

Saturday, 21 December 2013

Socks almost finished...


I'm knitting these socks for a friend. She ordered them: they'll be a Christmas present for her grandson. I have to finish them today...

Sunday, 21 July 2013

Growing begonias from leaf cuttings


There haven't been many occasions where I spent money on house plants. When I see one I like in the garden centre I go home and look up how I can grow them myself. I see a garden centre more as a place of inspiration and of lucky finds: little pieces of plants that dropped off and that could be used for propagation :)

Lots of my house plants are babies of friend's plants and I have given many of my own plants away. They make a great present for somebody who has just moved.

A few weeks ago I experimented with begonias. I took four leaves with a short stem and put them in some potting soil. I didn't bother doing what the Internet recommended, like using a mixture of sand and potting soil or covering with plastic. Much to my surprise they started growing little plants after a week or four! I potted them on to give them more space to grow.

Now I need to find people to give them to once they've grown, because my window sills easily overflow with all sizes of plant babies...


Sunday, 10 February 2013

Common chickweed and a lovely recipe

There's lots of chickweed growing at the moment! It has been said that there is no part of the world where Chickweed is not to be found. It’s one of the first greens available in winter and the tenderest of wild greens. It’s available all year round, but gets stringy around midsummer. As the name suggests, poultry love it.

Chickweed is readily distinguished from the alike plants by a line of hairs that runs up the stem on one side only, which when it reaches a pair of leaves is continued on the opposite side. As you can see on the picture.

Chickweed can be eaten raw. Most obvious is eating it as a salad. Or how about liquidized in a green smoothy? It makes a nice pesto as well. But the best recipe I've come across is chickweed pakoras...


Chickweed pakora
From: Hedgerow – John Wright

Makes 8

Don’t be too precise on quantities: it’s hard to get this one wrong…

100 gr gram (chickpea) flour
1 tbsp medium curry powder or to taste
½ tps baking powder
½ tsp salt (or more)
About 120 ml water
50 gr chickweed, washed, dried and roughly chopped
1 small onion
1 clove of garlic or a handful of wild garlic
Vegetable oil for shallow frying

- Mix flour, curry powder, baking powder and salt
- Slowly stir in enough water to form a paste with the consistency of mustard
- Mix in chickweed, onion and garlic
- Heat a thin layer of oil in a heavy-based frying pan
- When hot, spoon in heaped spoonfuls of the pakora mixture to form little cakes. Space them well apart
- Cover with a lid and cook over a medium heat for about 5 minutes until crisp and golden brown on one side.
- Turn over the cakes and brown the other side
- Drain on kitchen paper and serve

This post was shared on Wildcrafting Wednesday

Wednesday, 30 January 2013

Boterkoek: very Dutch and totally unhealthy

When I was a child my mother used to make Boterkoek; a Dutch treat that is best compared to shortbread with more butter. A lot more butter. She gave me the recipe when I left the nest and since then I made it hundreds of times.

Yesterday I made one for a potluck. It's an easy one because the ingredients are always at hand and it takes little time to prepare.

Shock and horror: it is full of butter and sugar. And it's very popular :)

250 gr flour
225 gr lightly salted cold butter
150 gr caster sugar
a pinch of salt

Cut the butter in pieces
Mix flour, sugar and salt
Rub the butter in the flour mixture with your fingers. Keep rubbing until it forms a ball.
Press the dough into a round cake tin (diameter 24)and spread evenly
Spread a few drops of milk over the surface (makes a nice crust)
Make a pattern with a fork (optional but very professional)
20 to 30 minutes in the oven at 160 degrees

Cut small pieces and enjoy...

Tuesday, 22 January 2013

Preparing a lunch and making cough syrups together


Come and connect to the abundance of the Winter season!
Craig Gibsone and Eveline Rodenburg invite you to a hands-on workshop around the theme of Winter that will renew your connection to seasonal preparations, to the land and to traditional herbal practices.

Again we will start by walking around Craig’s permaculture garden, harvesting for the lunch we will prepare and enjoy together. After that we talk about coughing and make different cough syrups. You’ll get the recipes so you can easily prepare them yourself at home!

Craig is an intuitive natural gardener and eco builder applying it in a happy intuitive way while constantly observing the interconnected nature of all things
Eveline is a naturopath and herbalist passionate about keeping the traditional knowledge of herbal medicine alive
Venue: Craig’s inspiring barrelhouse, kitchen and garden
Date and time: January 26th, 11-4pm.
Cost: £ 25 per workshop, but don’t let the money hold you back; just come and attune.
For further information and to book your place: evelinerodenburg@gmail.com, call Eveline on 07553 695 620 or drop a note in the GO. Or simply talk to us!

Sunday, 6 January 2013

Treasures of Winter: four workshops at Findhorn

I'm organizing four workshops on the coming four Saturdays. Here's some information about them:


Come and connect to the abundance of the Winter season!

Craig Gibsone and Eveline Rodenburg invite you to four hands-on workshops around the theme of Winter that will renew your connection to seasonal preparations, to the land and to traditional herbal practices. We’ll be harvesting, gardening, preparing and cooking in Craig’s beautiful barrelhouse where the daily practice of permaculture is present all around.

Each workshop starts by walking around the garden looking at what can be harvested and what can be done this time of year. We might do the tiny first sowings under glass and prepare a dish with our harvest. Then - gathering around the warmth of the woodstove - we will make traditional remedies for coughs, colds, dry skin and other winter conditions.

Craig is an intuitive natural gardener and eco builder applying it in a happy chaotic way while constantly observing the interconnected nature of all things
Eveline is a naturopath and herbalist passionate about keeping the traditional knowledge of herbal medicine alive

Venue: Craig’s inspiring barrelhouse, kitchen and garden
Dates and time: January 12th, 19th and 26th, February 2nd from 11-4pm.
Cost: £ 25 per workshop, £ 90 for block of all four. You can book separate workshops.

For further information and to book your place: evelinerodenburg@gmail.com, call Eveline on 07553 695 620 or drop a note in the GO. Or simply talk to us!

Monday, 8 October 2012

Rose hips in the steam extractor: an experiment

It's a gorgeous autumn day up here at Findhorn. The rose hips have been staring at me for over a week now. But they're such a hassle! I was taught to cut them and then remove their seeds, because the tiny hairs around the seeds can irritate. I did this last year, but it was just too much work. I'm all in for an experiment now!
I picked a bag full of rose hips. You want them firm, but not hard, and shiny. I use the fat ones from the Rosa rugosa. I took off their crowns, gave them a rinse and popped them in the steam extractor.
Steam extractor? Sure! It's a wonderful thing. It consists of three parts. You add water to the lower part. When you heat the water, steam will rise to the top part, where the fruit is. The steam breaks up the cells and allows the juice to come out. Through little holes - it looks like a colander - it drips in the middle part. This part has a little tube that allows you to pour the hot and sterilised juice in a clean bottle or jar or in a saucepan. It can be sweetened to make a jelly, used pure or turned into wine.
My experiment is that I want to find out if I can get rid of the little hairs by using the steam extractor. If I can, I will make a jelly out of the juice. If I don't, I'll turn it into a wine.

I'll tell you more about the result later!

Thursday, 4 October 2012

Wilted dahlias still good as a dye


Isn't that amazing? First we can enjoy the flowers in the garden and when they wilt, they still make an excellent dye!

I simmered 400 grams of the flowers in water for about an hour. Then they cooled down overnight and I strained the liquid. That's important: last time I got slimy bits of the petals in my wool...

The next morning I put in 200 grams of soaked and washed white wool and added a heaped teaspoon of alum. That was slowly heated up to a gentle boil and simmered again for about an hour. After completely cooling down I rinsed the wool until the water was clear.

It's a lovely deep yellow now. I will add it to all my other yellows :p

Monday, 30 April 2012

Rest! And knitting socks

It's been quiet here! I have moved internally and that took some landing. And since it rained quite a lot I have spent hours knitting. Yesterday I finished these socks. I made them for Hugo: he tried them on and loves them!

Thursday, 29 March 2012

Dandelions are ready to use

Natures is coming back to life again! Dandelions are growing too and now is the time to harvest their roots. Just dig them up, give them a rinse and a brush. You can dry them now by cutting them into small bits and then allowing them to dry on a piece of paper or cloth and store them in a paper bag when they're completely dry.

I made them into tincture
After cleaning the roots, I cut them into small pieces and put them in a jam jar with vodka. The right one is a jar I made earlier, the left is a new one. You can see the change in colour once the good stuff dissolves into the alcohol. I like to use this tincture in spring as a detoxifier and I take ten drops, three times a day. Don't take the tincture longer than six weeks and stop for some time to see how you're doing without.


Dandelion root makes the bile more fluid and it enhances the secretion of bile two to four times! This supports the liver and helps preventing the formation of gall stones. The bitters work great in your digestive system: more saliva, more gastric and pancreas juices, hence a better digestion!

Dandelion is called pisse-en-lit in French, because it increases the flow of urine. And at the same time it strengthens the urinary system. Most diuretic drugs cause a loss of potassium, but dandelion is naturally high in potassium and as such a very balanced and complete remedy. The leaf actually works best on the urinary system, so you can add some of it to your tincture.

Spring is a good time to detoxify and dandelion is a great help: as a tincture, an infusion or eating the young leaves in a salad.

This post was shared on Wildcrafting Wednesday

Thursday, 8 March 2012

Jam making: forty jars!

Just a peek into 'my' kitchen in the Findhorn Foundation: last week we made jam! We had quite a few gooseberries in the freezer and our fruit and veg supplier gave us a big box of bananas, peels blackened by the cold but still very nice inside. I had been hoarding jars for the last few months and now we filled them with a gooseberry - banana - ginger jam. The combination is delicious and the house will be able to enjoy this for at least a couple of weeks :D.

Tadaaa!

Monday, 5 March 2012

Great workshop: dyeing with Indigo


Last Saturday I went to a workshop by one of the members of my spinning circle. She taught us how to dye with indigo and it was such a lovely afternoon with great results!

What I appreciated most was that all five women had a skill they were happy to share with others: dyeing, pinning, wine making, making samosas and, in my case, making herbal remedies. There was a beautiful wild garden with many herbs and dye plants and I got a cooking pan that can serve as a dye pot. I'm not sure if I can think of a better way to spend the afternoon :)

Tuesday, 28 February 2012

Found: Lung moss!

I have been looking for Lung Moss (Lobaria pulmonaria) for quite some time. I first heard about it in my spinning circle. One of the older women told me how she dyes with what she called Tree Lungwort and gave me a small quantity of this lichen. I tried it and loved the color! It is the brown one in the picture.
And then the name caught my attention; I know the Lungwort and was wondering whether the Lung Moss could also be a medicinal lichen. My favorite herbal, David Hoffmann's Holistic Herbal mentions it as an expectorant, used in irritable respiratory conditions, such as bronchitis and asthma. It is specifically indicated in children's coughs. Lung moss has healing and soothing properties for the mucous tissue. On the internet I also found that it has recently been found that the lungwort lichens contain antibiotic chemicals that are effective against the kind of bacteria that cause tuberculosis and many other chest infections. I'm making it into a tincture and will try it out on either myself or a guinea pig :)
Many medicinal plants reveal their properties by how they look. Lung moss is a great example; I find an amazing similarity to the lungs. If you enlarge the photo by clicking it you can see the bronchial tubes and even the alveoli!
I found this lichen while walking along the River Findhorn. I had been looking up at the trees trunks (almost tripping several times...), knowing that the air is very pure out here and the oak trees are fairly old: the ideal conditions for Lung Moss to grow. Just when I was giving up on finding it I recognised it. I have experienced this before when I'm looking for a herb without having seen it before. When I spot it my heart jumps and I just know that this is the one! Today I will go back to the river and hopefully find more.
I don't take it from the trees, as it takes several years to grow, but collect what has fallen.
The River Findhorn is such a beautiful and magical place!


This post was shared Wildcrafting Wednesday at The Woodwife's Journal

Wednesday, 15 February 2012

Growing peas and beans in toilet rolls

Someone asked me how to sow in toilet roll tubes. Well, that's actually easy peasy :).
1: Collect enough toilet roll tubes - this may take all winter. Here in the Findhorn Community it just takes a few weeks :)
2: Find a low seeding tray
3: Fill the tubes with seeding compost in the bag or in a bucket with compost, by pressing with the fingers of both hands on either side of the tube. Make sure to give a good amount of pressure and leave 2 cm (1 inch) space at the top.
4: Put them upright and side to side in the tray and drop one pea or bean in each tube
5: Top up the tubes with compost and press again
6: Water (just moist, don't overdo it!), wish them well and wait...
7: Once the plants have grown two or three pairs of leaves and the roots are visible, plant them with the tubes. This works so well, because the roots stay undamaged and healthy. The cardboard will disintegrate and feed the worms. I use this method for bigger seeds, like peas, sweet peas, broad beans, runner beans and corn.

When the peas look like this, you can plant them. Enjoy!

Monday, 13 February 2012

Hairy bittercress: a tasty and healthy addition to salad

This tiny weed, Hairy Bittercress (Cardamine hirsuta) is probably around in your garden this time of the year. It germinates when it gets colder and grows in winter! It loves disturbed soil, so it tends to pop up where you have been digging or weeding. Don't throw it on the compost heap, because it's edible and actually quite nice. It tastes a bit peppery, but not too hot and is a great and healthy addition to salads, or in couscous. Harvest before it flowers. Just lift the little rosettes, cut the roots off, rinse, chop and enjoy! This fresh energy and it's vitamine C is exactly what we need right now.

This post was shared Wildcrafting Wednesday at The Woodwife's Journal

Thursday, 9 February 2012

Making tinctures: a tutorial

Around Christmas I blogged here about digging up roots and cleaning them to make them into a tincture. A tincture is an extract of a herb in alcohol. In this case, I used Meadowsweet. I chopped up the roots and put them in a clean jar. Then I added vodka, enough to completely cover them. Because everything that is not covered in alcohol, can get moldy.
The tincture has been in a cupboard for six weeks, so it's time to separate the herb form the alcohol. I use a sieve and a clean piece of cloth. Old cotton sheets work great for that. I use a glass measuring jug, so I can see what the tincture looks like and how much I have. The procedure is very simple: I just empty the jar in the sieve and see the tincture running!

You can see the tincture is beautifully clear and has a deep red colour. I try to press out as much of the good stuff as possible. You need some strenght for this! I have seen tincture presses on the internet, it would be great to have one...
I pour the tincture into a clean jar and label it. I like to put a date on the label; tinctures keep quite well (most of them at least three years) but not forever. I always keep them in a dark place, away from sunlight.

Meadowsweet (Filipendula ulmaria) likes to grow in wet places. The flowers are creamy white. They look fluffy, almost fragile and have a distinct sweet smell. Insects love them! The roots are of a very different nature. They form a strong mat that makes it difficult to dig them up!

Like Willow, Meadowsweet has salicylate salts. In the 19th century, this has been recognised as a painkiller and made into acetylsalicyd acid, called Asperin. Pure asperin can harm the stomach. Meadowsweet doesn't, because it has other compounds that work soothing on the stomach tissue and even relieve heartburn. It is a pain reliever and works anti-inflammatory. And has another bonus: it helps the body detoxing by getting uric acid and oxalic acid out. That is why it is used on joint pains that are associated with acidity.

I will gather the flowers in summer and make them into a tincture too and mix the two.

This was shared at Wildcrafting Wednesday


Thursday, 2 February 2012

Sock yarn blanket is progressing...


I thoroughly enjoy working on my sock yarn blanket. I did 55 squares so far, making them into big squares of 36 (yes, I know you only see 25, I decided to make them a bit bigger) that I will sew together later. I received leftover sock yarn form many people, is various colors. Where I have too much, I send them to others via Random Acts of Kindness on Ravelry. It's a great way to use us all these small bits!

Friday, 27 January 2012

Let's knit together!


I learned how to knit in primary school. The girls learned knitting, crochet, embroidery, sewing and other useful needlecraft twice a week, the boys did woodwork and carpentry. At the time I would have loved to join them, but now I'm delighted to know these practical skills.

In my community people often see me knitting socks during meetings. I have made many socks in my life, so for me this is a no-brainer; something I can easily do whilst still participating in the meeting. People who never knit socks don't understand this: they think it's highly complicated!

More and more people asked me whether I could teach them how to knit or crochet. So every now and then we gather in the lounge with our yarn and needles. We chat, drink tea, I rescue dropped stitches and help out with new techniques. I love it: being creative together feels very connecting and relaxing.

This post was linked in http://www.commonsensehome.com/

Saturday, 7 January 2012

Random Acts of Kindness


I discovered Random Acts of Kindness (RAK) on knitting community Ravelry and am completely blown away by it. The idea: they have a forum where you post your wish(es) and then people who feel like it just grant them! It took me some courage to just post my wish (leftover sock yarn for my Blanket); it's a bit weird to ask for something without giving something back! At the same time I started reading other people's wishes and sending them what they need. Such a great thing to do! It just reminds me that there are so many lovely humans out there and it is so simple to connect and be friendly to each other.

This morning a parcel arrived and look what I got! Kate, you made my week. Thank you!

Tuesday, 3 January 2012

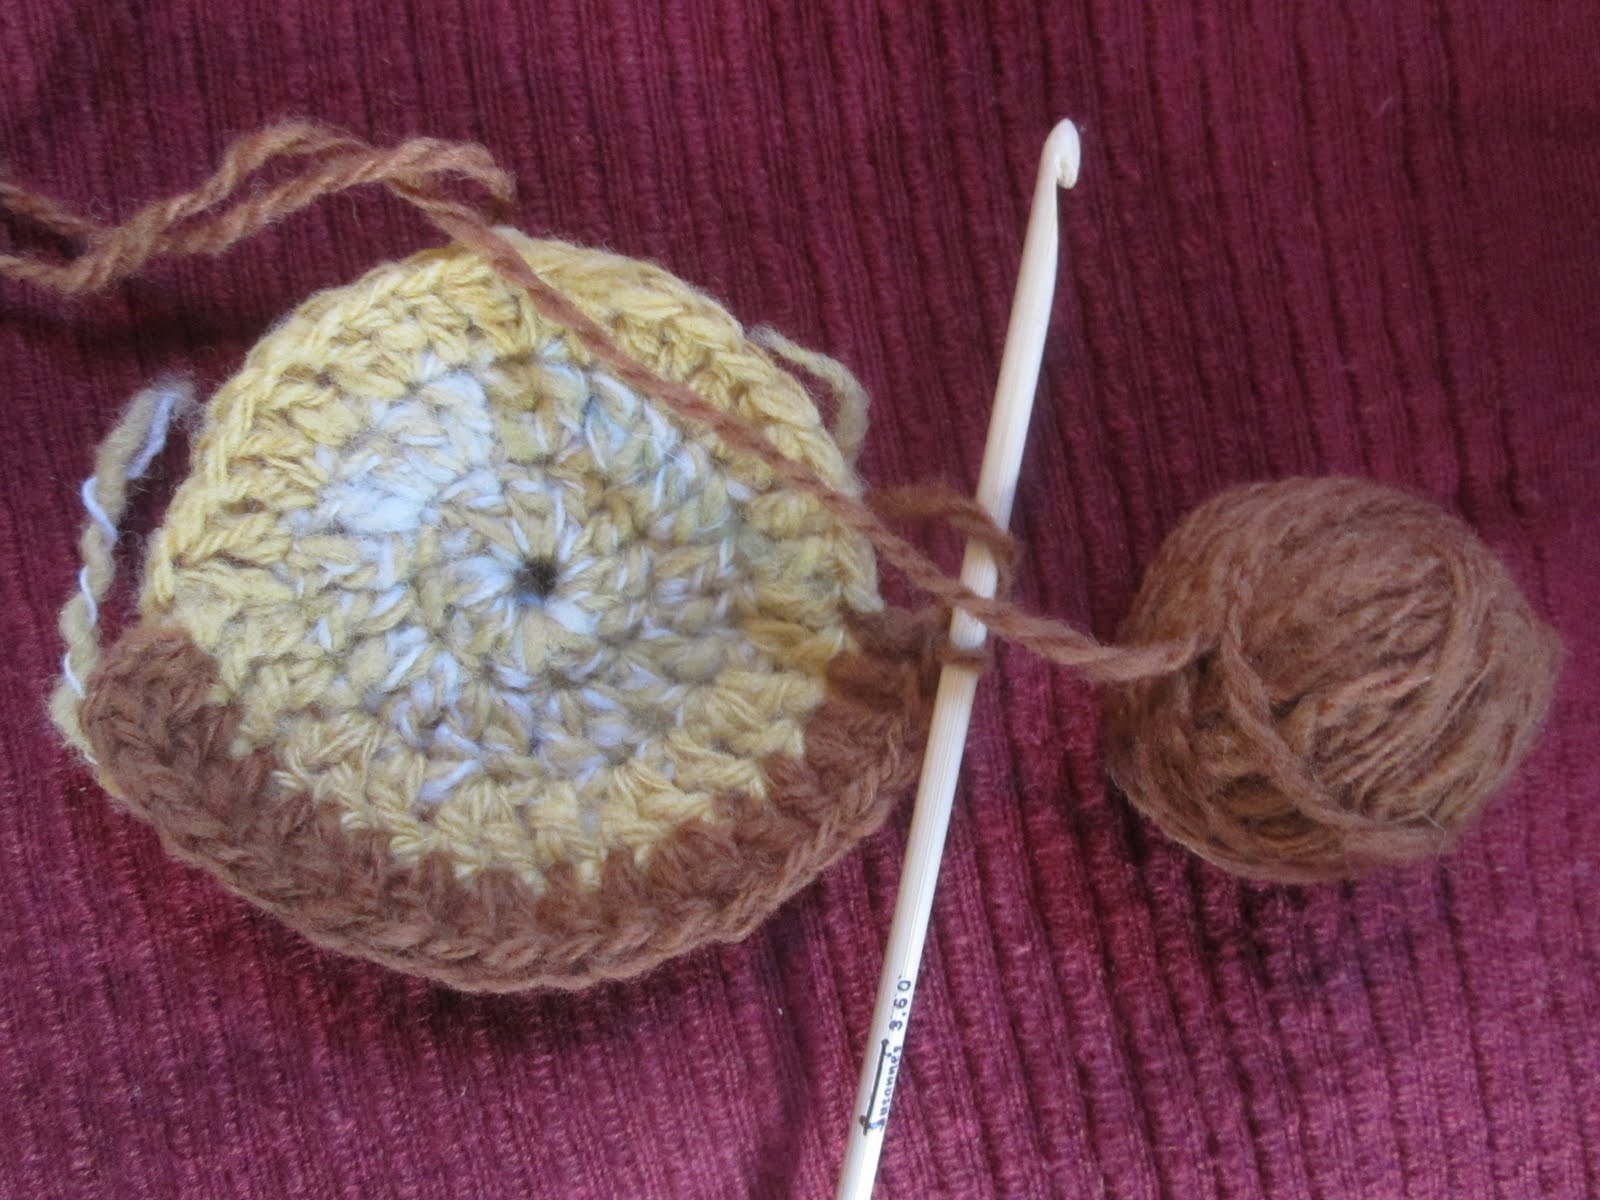
Making a blanket (or a scarf...) from leftover sock yarn


It's not a good picture, but it has been so dark today, that there just wasn't enough light! Still, I want to show my new project: a blanket (or, if too ambitious, a scarf) from leftover sock yarn. You can find the pattern of this Blankie here.

I have lots of leftover sock yarn and will need lots more. Soooo, if you want to destash, please let me know!
Related Posts Plugin for WordPress, Blogger...